
Attempting to create a jaw dropping eye shadow look is not something you can pick up in a day. Online beauty gurus can make it look straightforward and simple, but sometimes the execution may not always be so beautiful.
I've gone through countless online makeup tutorials from amateur beauty bloggers to professional makeup artists. But time and time again I follow the same routine with different coloured eye shadows, depending on what look I'm going for.
From a lot of trial and error, I feel like I'm in a place where my eye shadow skills are easy to follow, with a somewhat pretty outcome.
So, why not pass on the same lesson I've learnt throughout the years?
From a lot of trial and error, I feel like I'm in a place where my eye shadow skills are easy to follow, with a somewhat pretty outcome.
So, why not pass on the same lesson I've learnt throughout the years?
One of the first steps I always follow in EVERY look, is to prime the eyelids. Not only does this ensure that the eye shadow applies evenly across the eye, it also ensures that the shadow won't budge from the moment you put it on to taking it off in the evening.
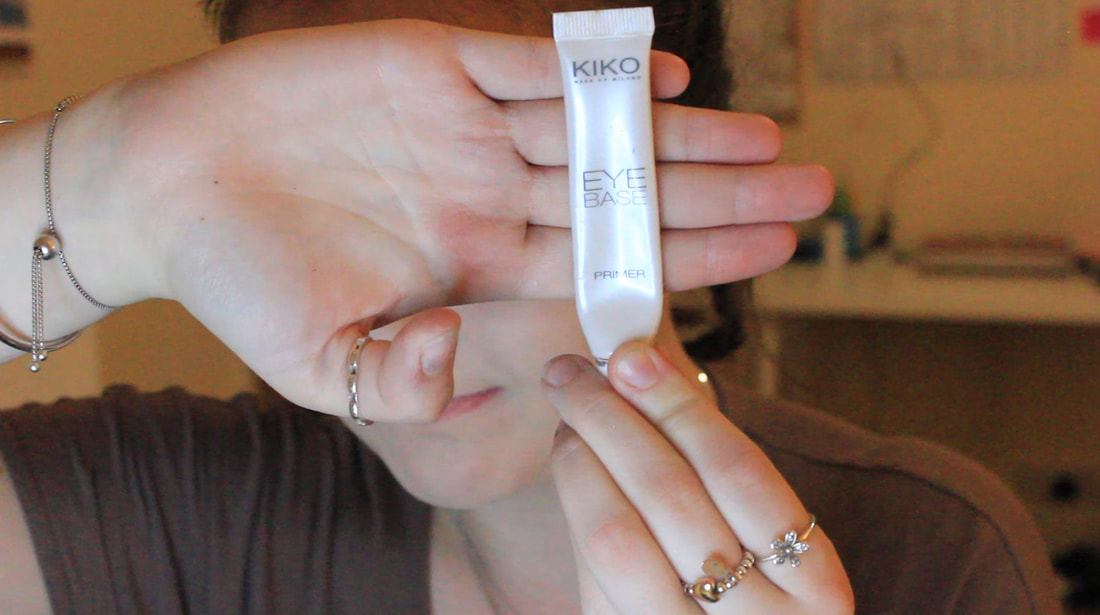
I currently use KIKO's eye base primer
|
Ensure to cover your entire lid with primer
|
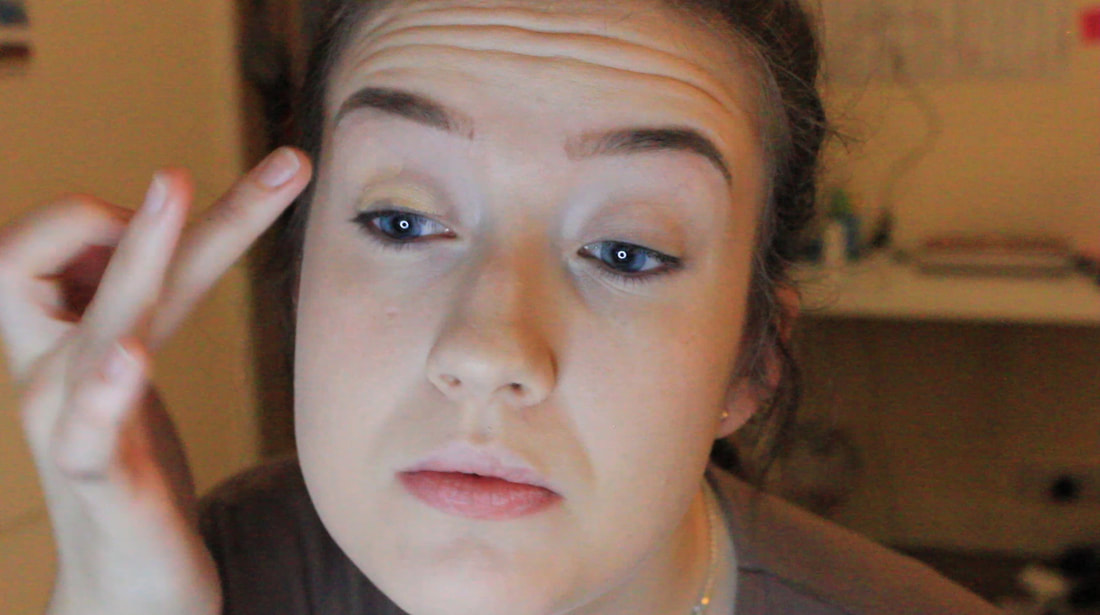
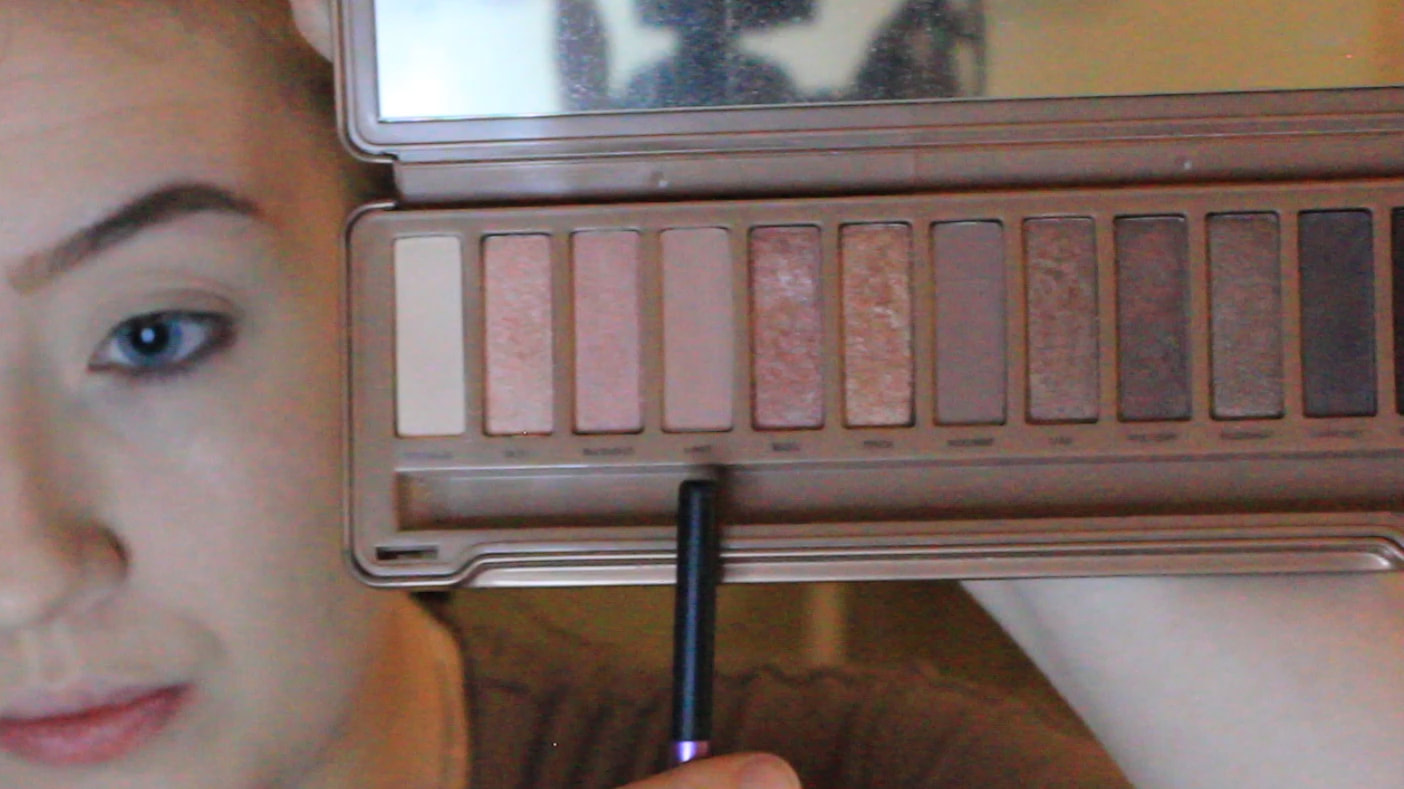
Once tapped onto your eyelids, use a shadow which matches your skin tone the closest. As I'm quite pale myself, a light or white shadow usually does the trick for me. Place this on a large packing brush and cover your entire lid.
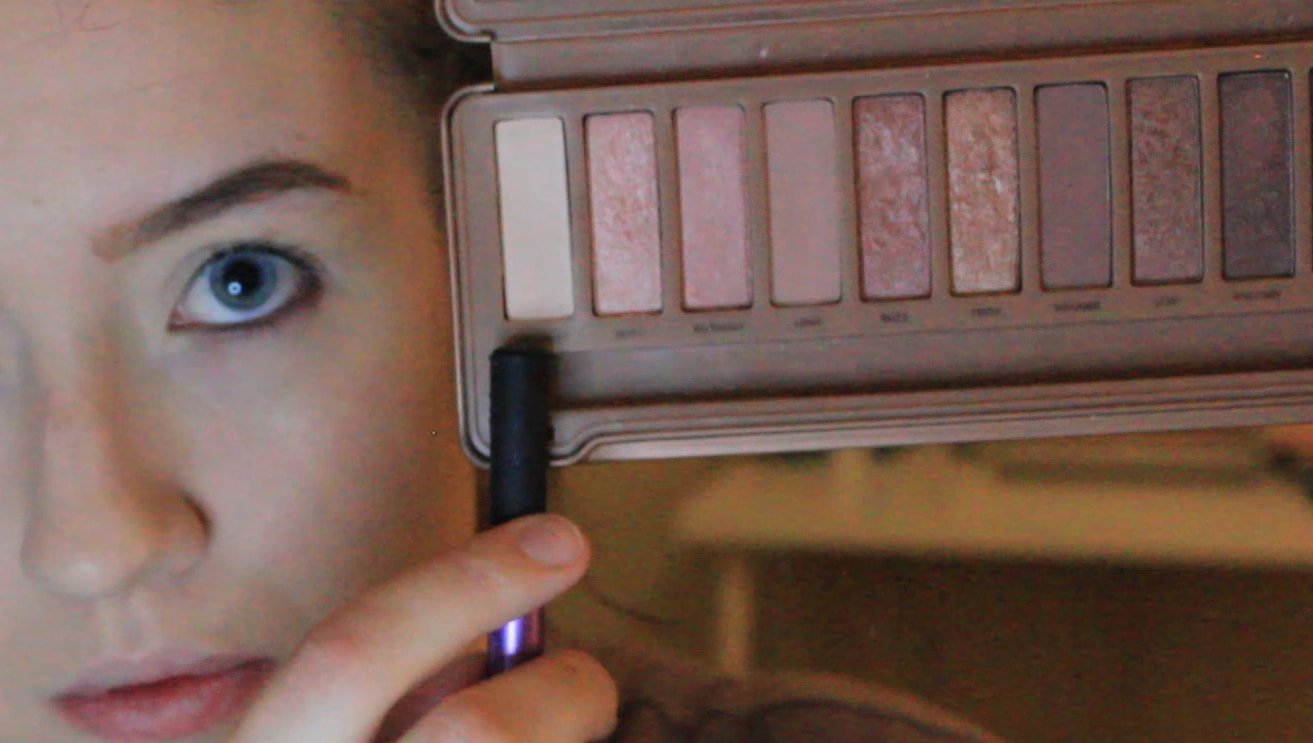
Using the shade 'Strange' from Urban Decay's Naked 3 palette
|
Pat this shade across the whole lid with a large packing brush
|
When applying the first shadow, your eye can look quite flat. So adding in a transition shade can add dimension to your eyes and specific colours can make different eye colours stand out. For example, eye shadows with brown tones make blue eyes (like mine) stand out.
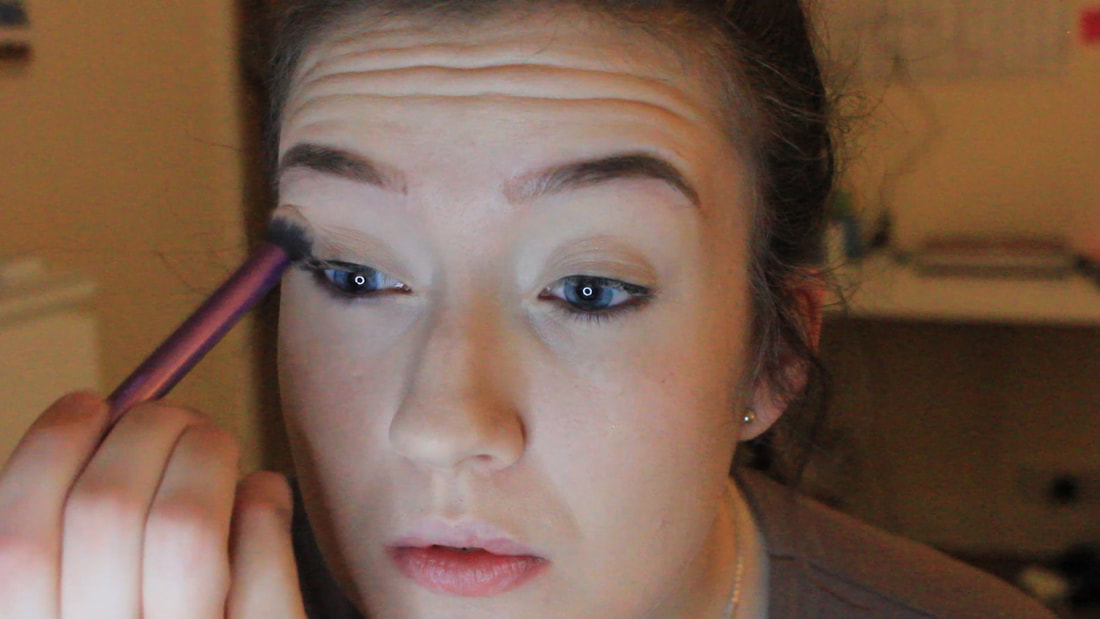
In every look, I like to use a transition shade which is close to the base colour that you started off with, in the colour of the look that you're going for. In this example, I chose a light pink transition shade as the final look was going to be pink/purple.
Place this shade in the crease of your eye and blend out to the edges of your whole eye. To achieve this, use a fluffy blending brush such as Real Techniques' blending brush.
Place this shade in the crease of your eye and blend out to the edges of your whole eye. To achieve this, use a fluffy blending brush such as Real Techniques' blending brush.
From the same palette, I'm using the shade 'Limit'
|
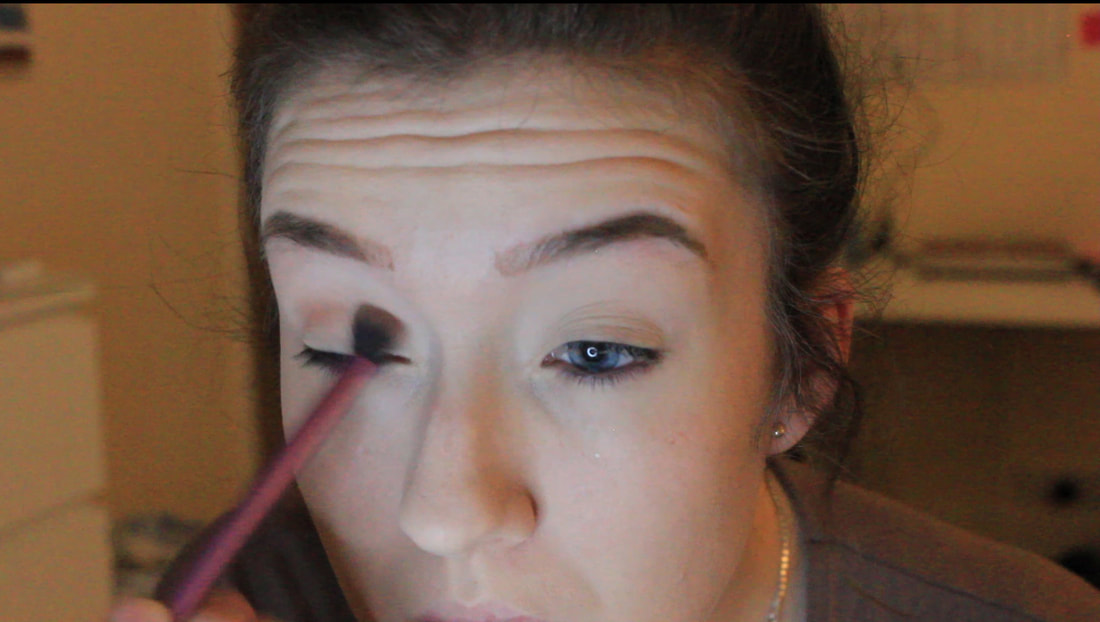
Blend this throughout your crease across the entire lid
|
Following on from the transition shade, pop a darker colour in the outer corner of your eye lid. This will make the look become the smokey, which is a key asset for this eye shadow look.
Be sure to apply the darker colour on the outer corners only, as this will make your eyes appear bigger once its all put together.
For application, use the the same fluffy blending brush as before.
(As an optional step, to make the look appear darker you can add a deeper shade on the outer corners).
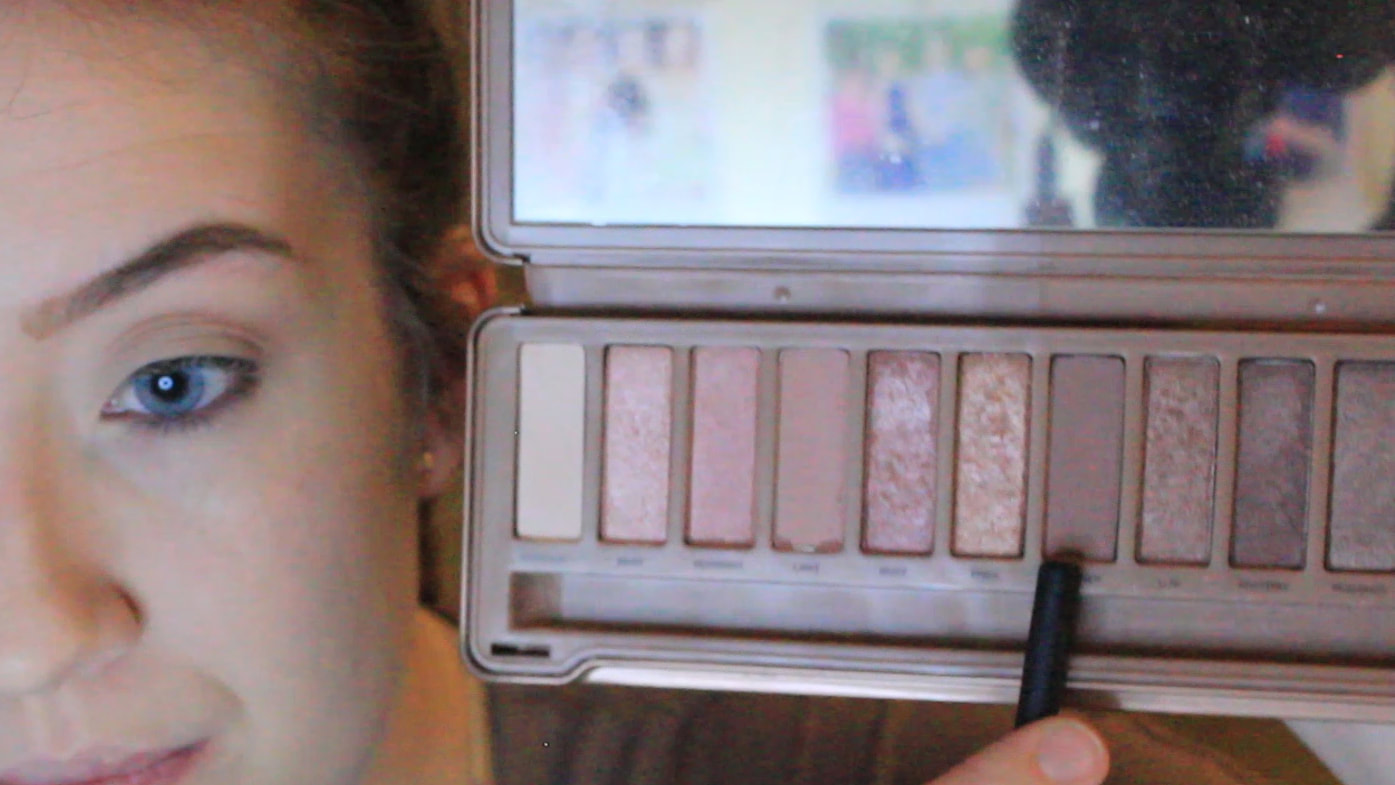
I've used the shade 'Nooner' from the same palette
|
Be sure to keep this darker shade on the outer corners of your eyelid only
|
Time to add a bit of sparkle!
​Choose a shimmery shade to pop in the middle of the lid. You can either apply this by using your ring finger or you can use a large packing brush to pop the shade in the middle of the lid.
Top tip: spraying the brush with a makeup setting spray can make the glitter shadow apply as pigmented as possible.
Add a lighter shadow in the inner corners to open up your eyes even more.
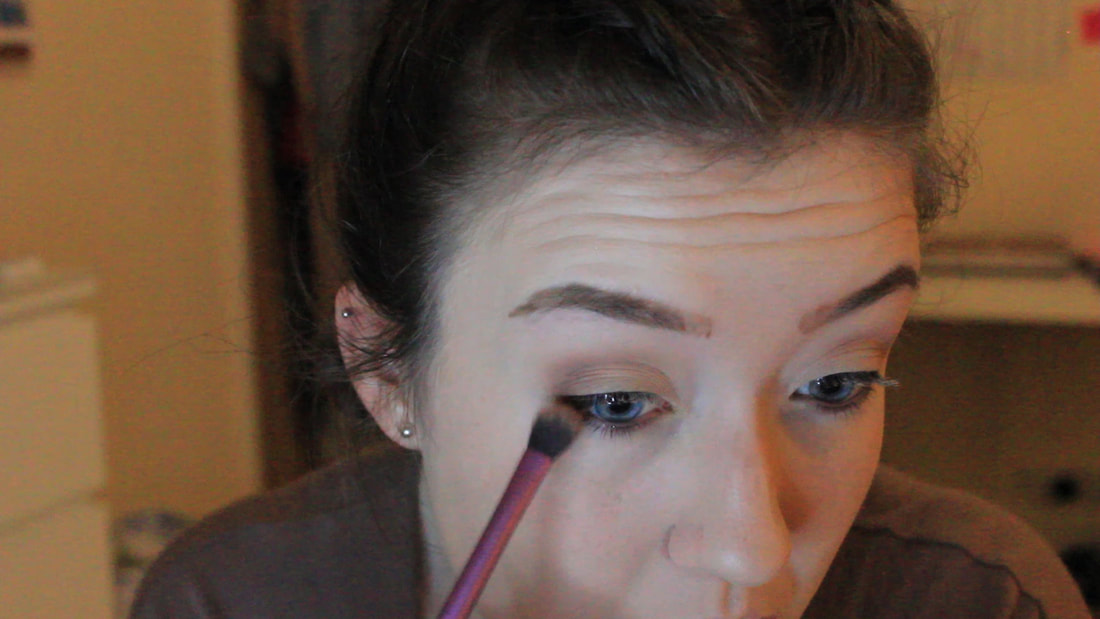
To finish the look off, use a liquid liner and create a wing on your upper lash line. The best way to create a winged liner is to follow the natural curve of your lower lash line upwards.
The thickness of the wing depends on your own personal preference. I like doing a medium line of liner. Not too much to cover the entire look, but not too little to make the lashes look less full.
After the liner, apply your favourite mascara and you're finished!
The thickness of the wing depends on your own personal preference. I like doing a medium line of liner. Not too much to cover the entire look, but not too little to make the lashes look less full.
After the liner, apply your favourite mascara and you're finished!
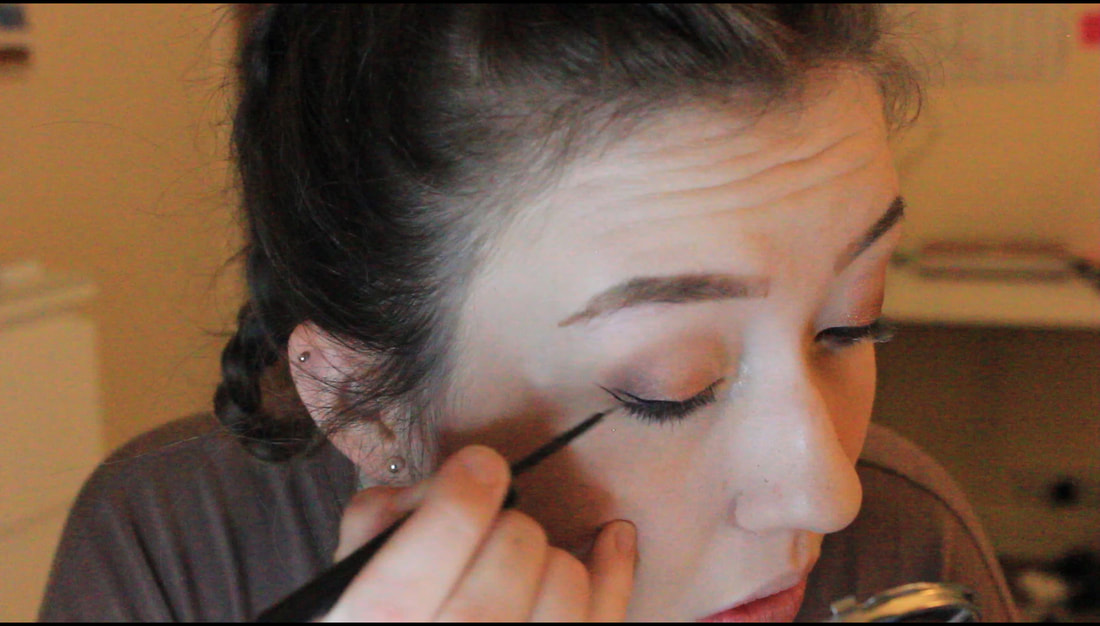
Depending on your eye shape, eyeliner can be applied either thick or thin
|
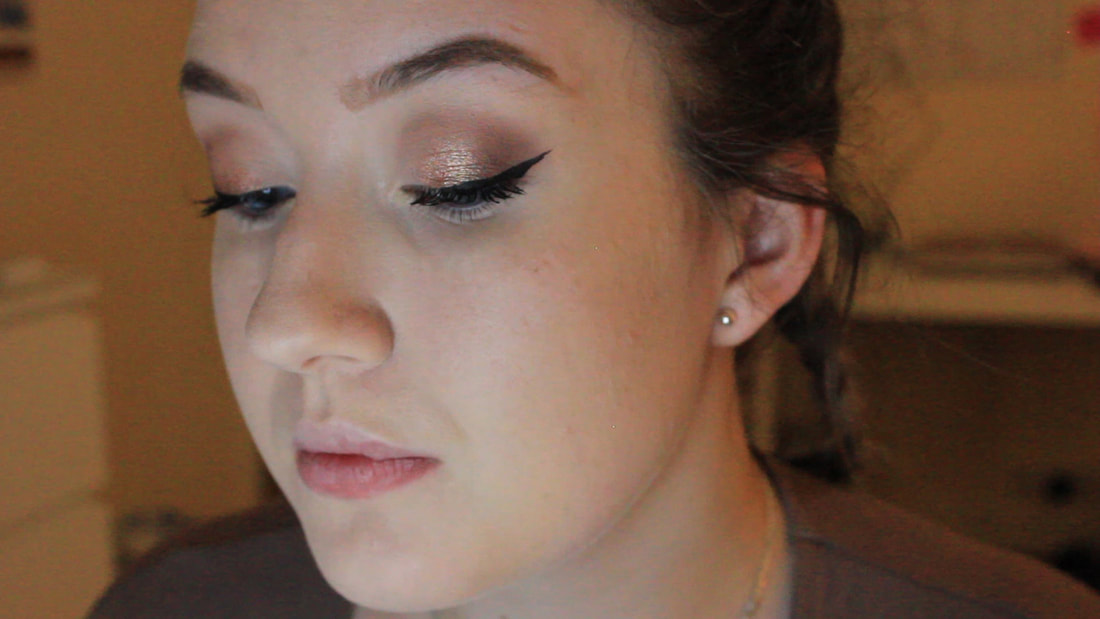
The final look!
|
Understandably, this can be hard to follow from photographs and text. So, have a look at the video below to show the step by step in the making: